Procedure Training Resources
As part of the Ambulatory Procedure Training Session, you will be instructed on and then observed in your performance of four commonly
used clinical procedures (Arterial Blood Gas -ABG, Nasogastric Tube-NG, Male Foley Catheter, Female Foley Catheter).
This module will provide you with resources that you should use when preparing for this procedure-based educational activity.
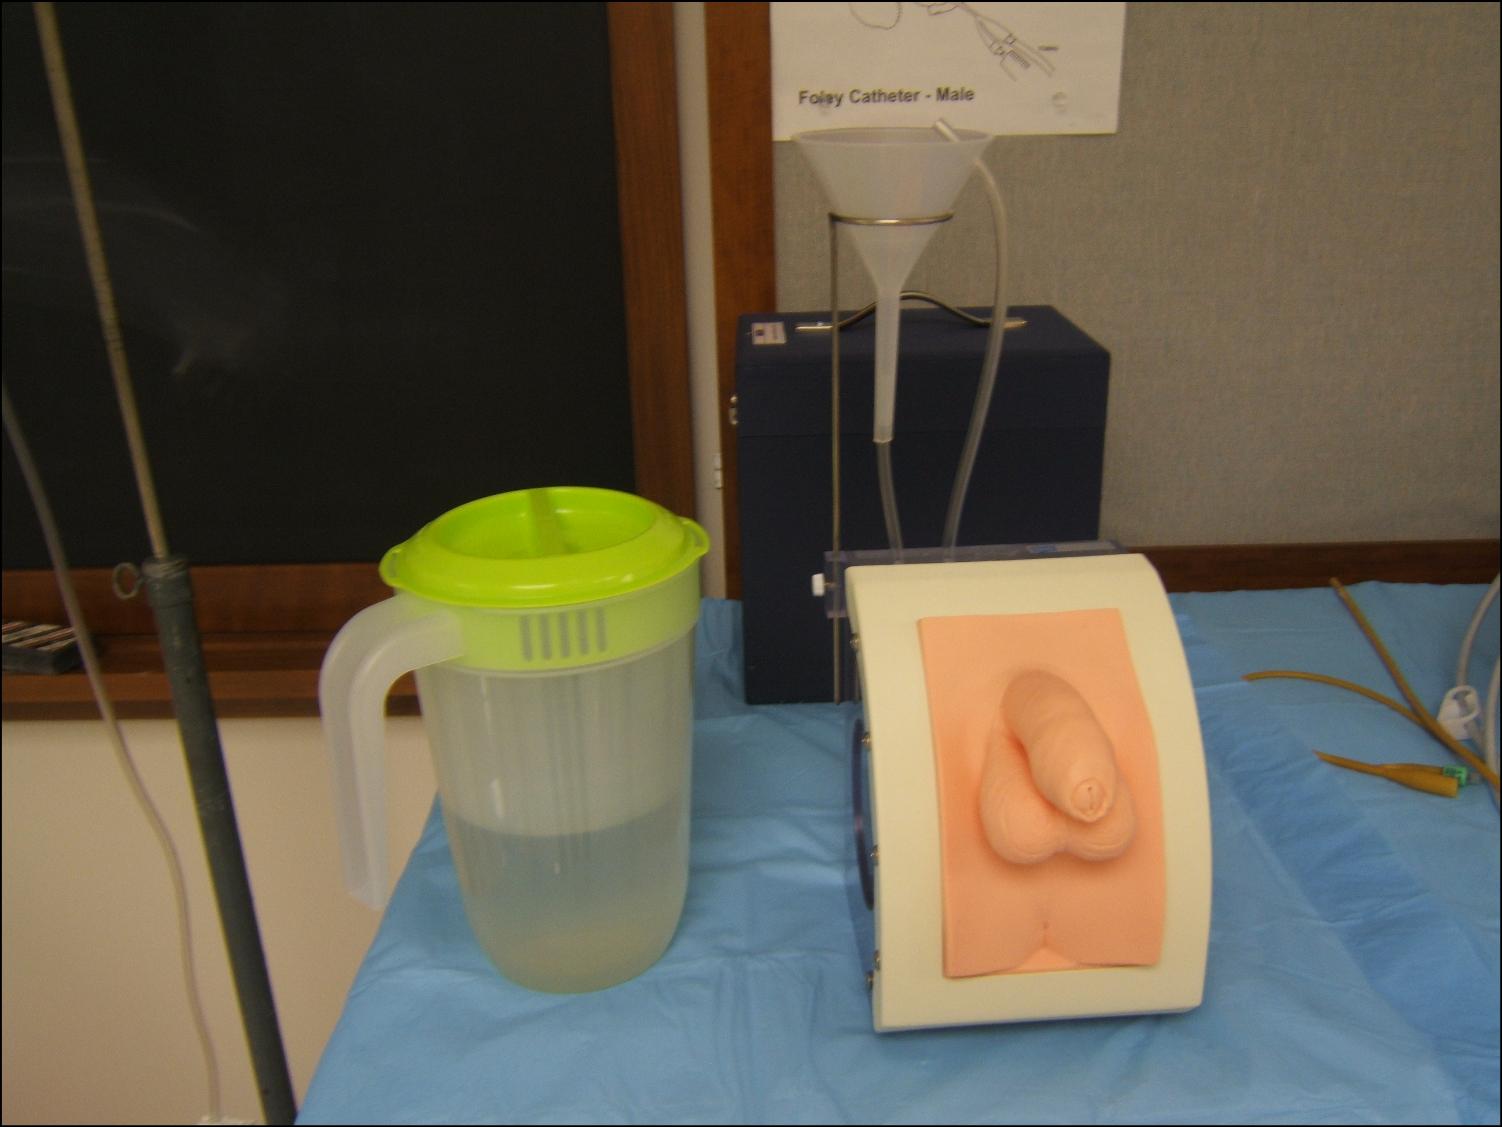
I. Male Foley Catheter
Urethral catheterization may be indicated for diagnostic or therapeutic purposes to decompress the bladder, permit irrigation, obtain sterile urine, measure urinary output, or measure the residual urinary volume after voiding. This video demonstrates how to perform male urethral catheterization.
View the Video and Review the PDF description for the procedure using the Resource links on the Right Sidebar

MALE FOLEY |
Competent |
Not Competent |
|
1. Wash hands
|
|
|
|
2. Identify patient (Name and DOB) and explain procedure to patient
|
|
|
|
3. Open Foley Kit -- Gather/check/arrange equipment: |
|
|
|
4. Put on gloves |
|
|
|
5. Drape pubis and proximal thighs |
|
|
|
6. Retract foreskin if uncircumcised |
|
|
|
7. Grasp penis with non-dominant hand. [Perpendicular to axis of body.] |
|
|
|
8. Cleanse penis using circular motion with antiseptic solution using |
|
|
|
9. Lubricate tip of catheter with jelly or viscous xylocaine |
|
|
|
10. Insert tip of catheter into tip of urethral meatus and advance |
|
|
|
11. Carefully continue to insert catheter, observing for the free flow of |
|
|
|
12. Inflate the balloon with 10 cc of water. (*To avoid inflating the |
|
|
|
13. Pull back gently on catheter until balloon seated against bladder wall |
|
|
|
14. Connect the open end of the catheter to port of collection bag |
|
|
|
15. Return the foreskin to its normal anatomic position |
|
|
|
16. Secure catheter to patient's thigh using tape or Velcro strap if provided |
|
|
|
17 Wash hands before leaving room |
|
|
|
Pass |
|
Date |
|
Remediation Required |
|
Date |
|
Student Name (please print) ______________________________________ |
|
Date |
|
Student Signature_____________________________________________________ |
|
Date |
|
Evaluator Signature_____________________________________________________ |
|
Date |
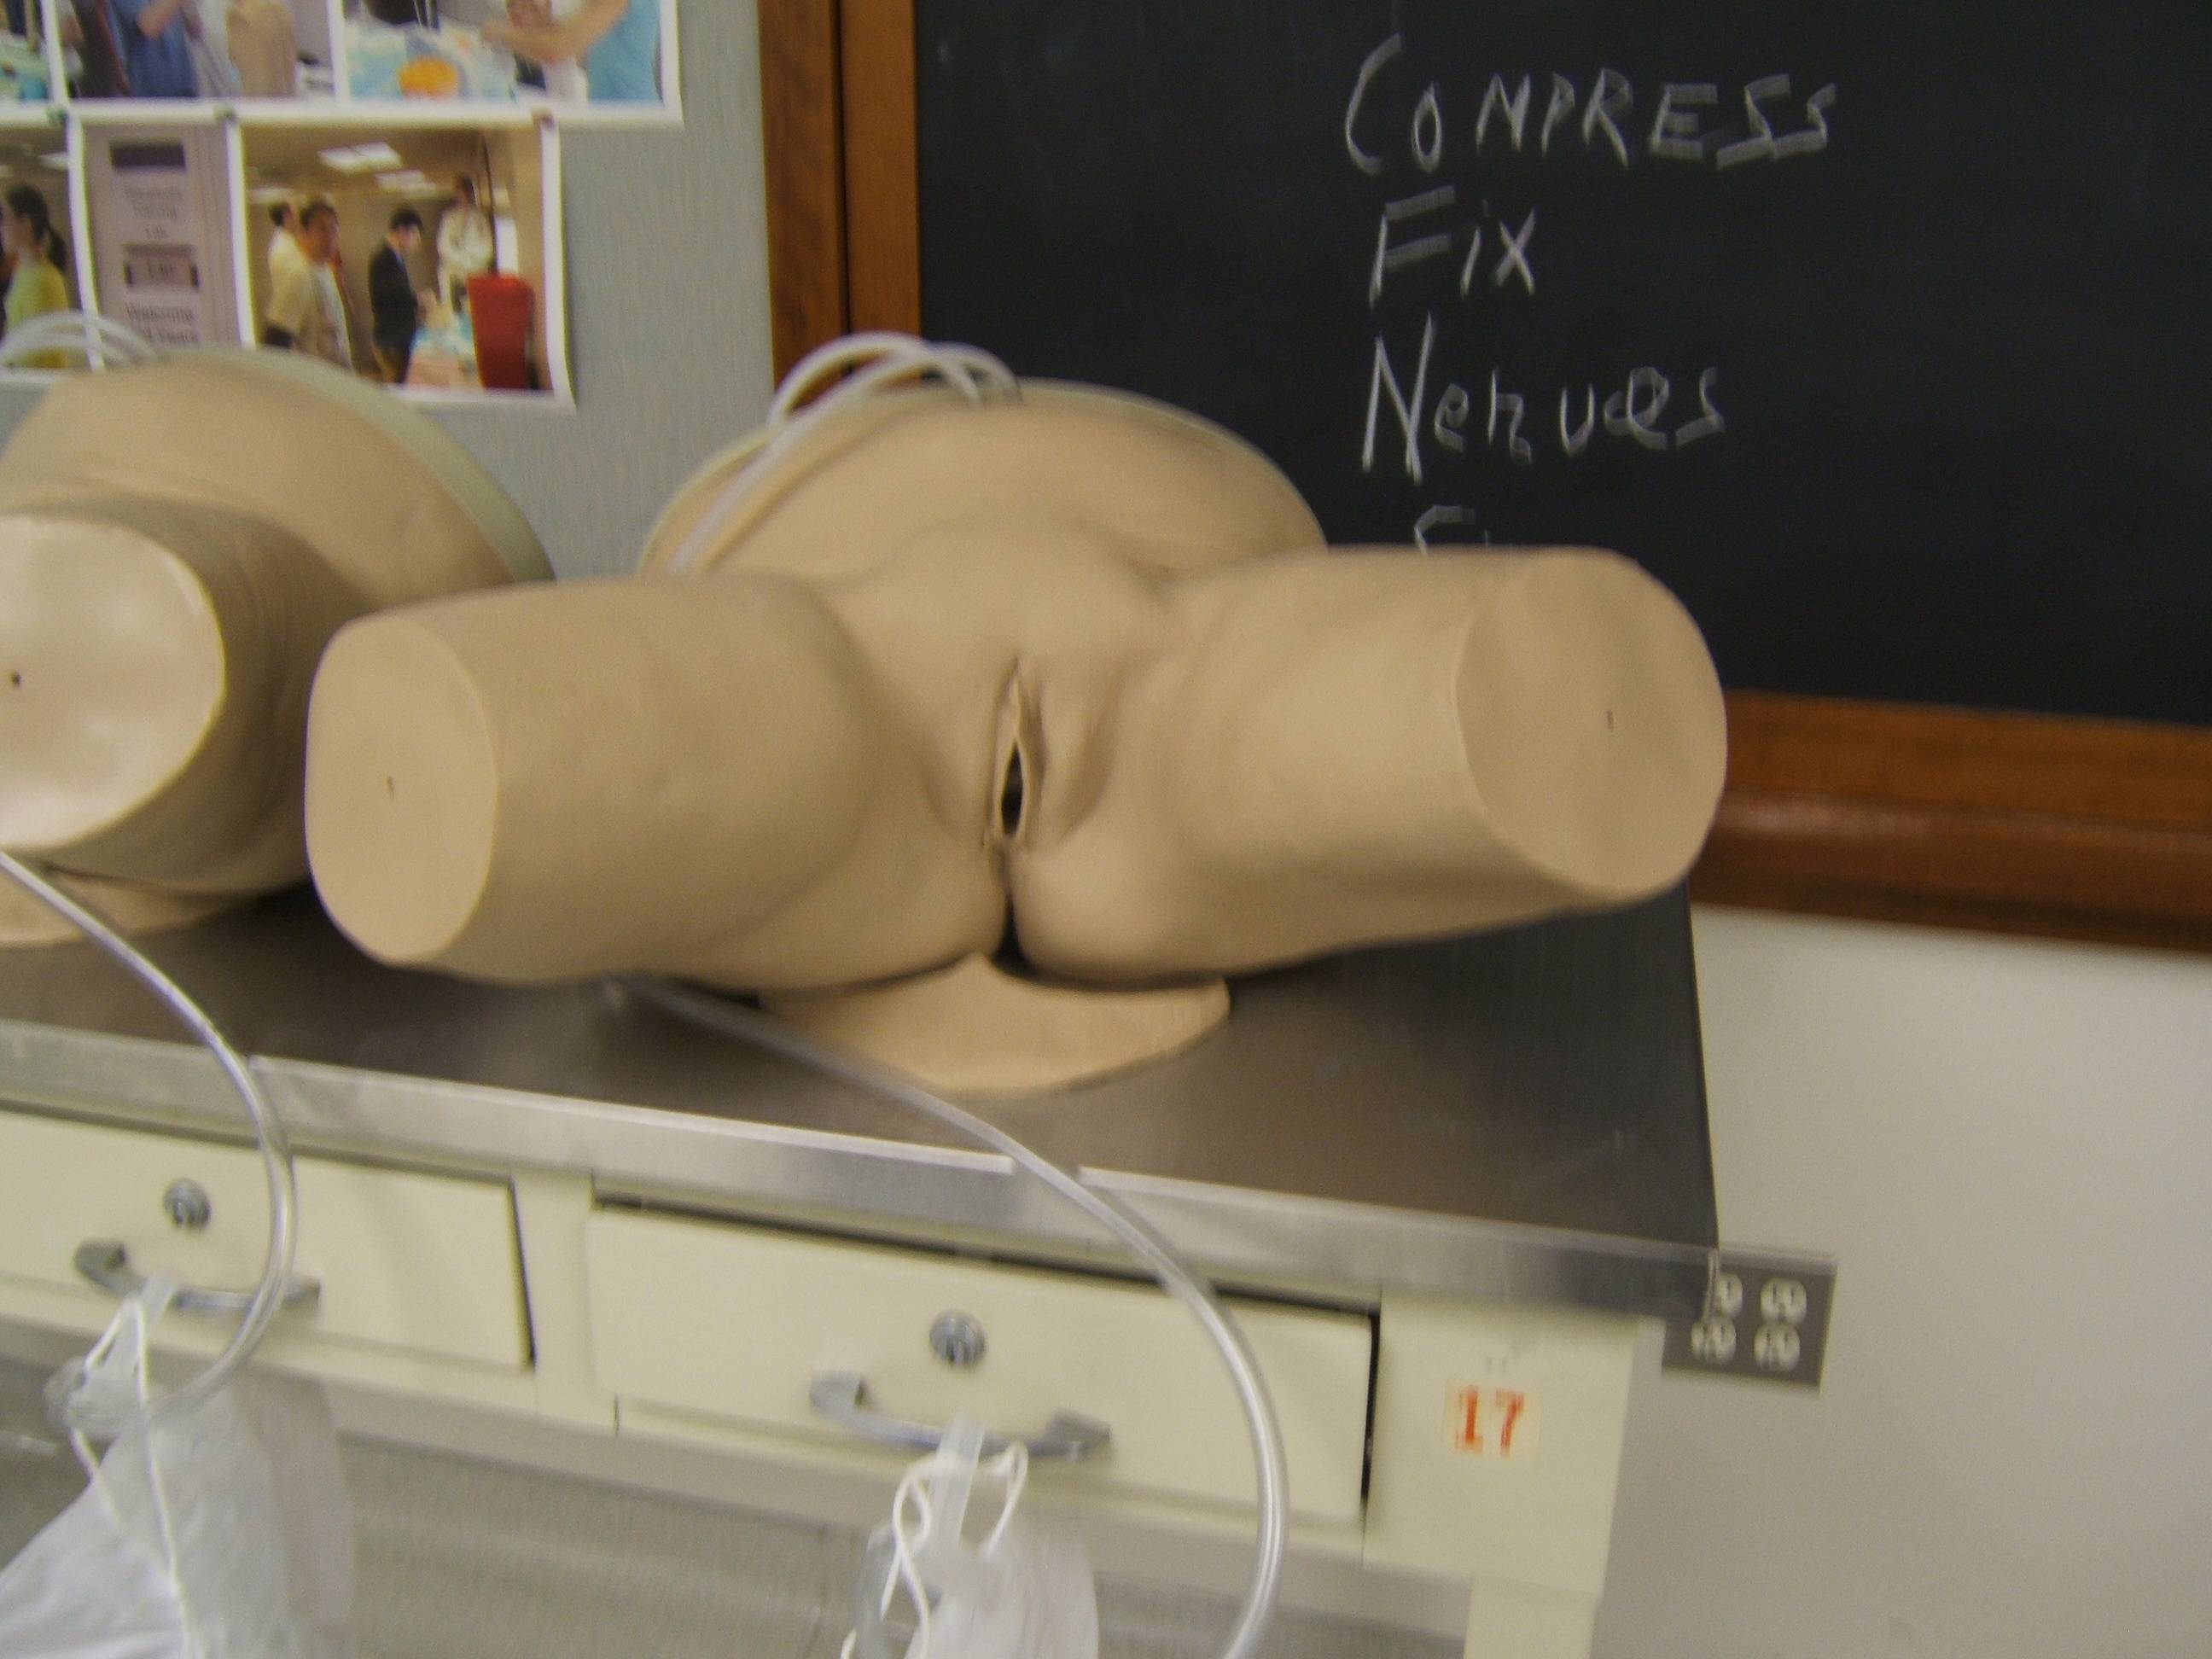
II. Female Foley Catheter
Urethral catheterization may be indicated for diagnostic or therapeutic purposes to decompress the bladder, permit irrigation, obtain sterile urine, measure urinary output, or measure the residual urinary volume after voiding. These videos demonstrate how to perform female urethral catheterization. View the 2 videos
View the Video and Review the PDF description for the procedure using the Resource links on the Right Sidebar
Checklist
|
Insertion of Foley Catheter, Female |
Competent |
Not Competent |
|
1. Wash hands |
|
|
|
2. Identify patient (name and d.o.b.)and explain procedure to patient
|
|
|
|
3. Gather/check/arrange equipment: |
|
|
|
4. Put on gloves, maintain sterile technique for remainder of procedure |
|
|
|
5. Drape pubis and proximal thighs |
|
|
|
6. Inspect external genitalia and locate urethral orifice below the clitoris |
|
|
|
7. Cleanse area of surrounding meatus with antiseptic solution using |
|
|
|
8. Lubricate tip of catheter |
|
|
|
9. Insert tip of catheter into tip of urethral meatus and advance |
|
|
|
10. Carefully continue to insert catheter (approx 4cm) observing for the flashback of urine into the catheter. |
|
|
|
11. Inflate the balloon with 10 cc of water. (*To avoid inflating the |
|
|
|
12. Pull gently on the catheter until you feel the balloon seated against |
|
|
|
13. Connect open end of catheter to port of collection bag (if bag available) |
|
|
|
14. Secure the catheter the patient's thigh using tape or a Velcro strap |
|
|
|
15. Wash hands before leaving room |
|
|
|
Pass |
|
Date |
|
Remediation Required |
|
Date |
|
Student Name (please print) _________________________________ |
|
Date |
|
Student Signature _______________________________________ |
|
Date |
|
Evaluator Signature _______________________________________ |
|
Date |
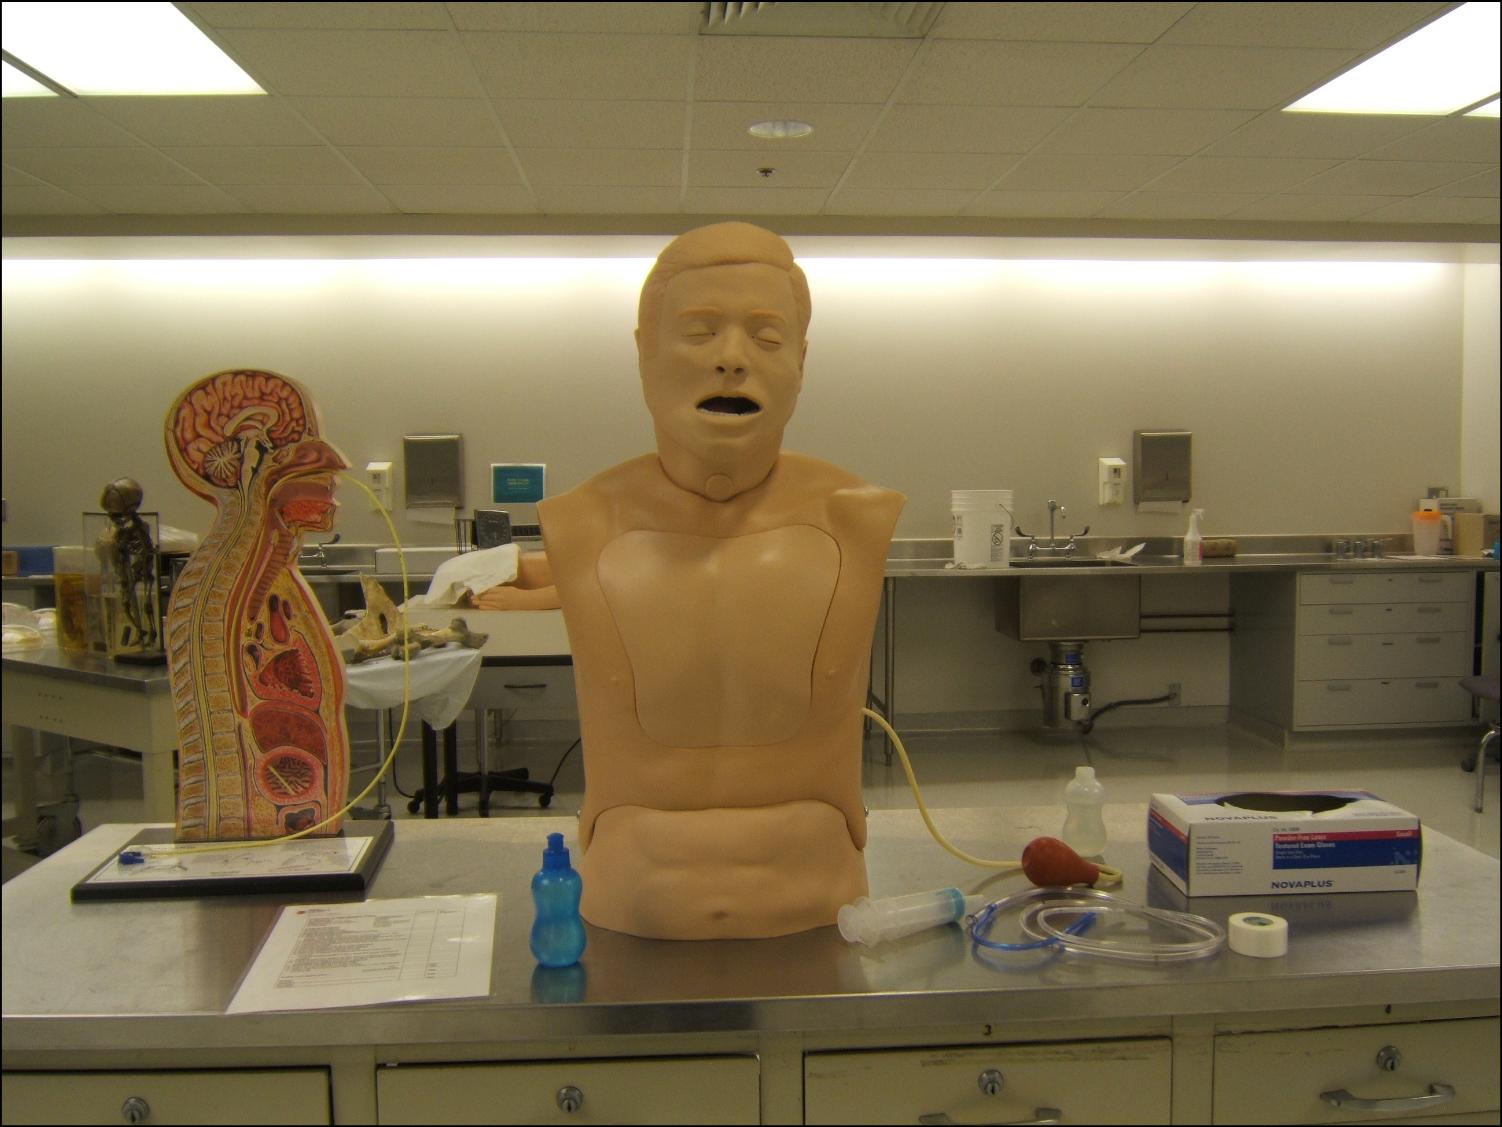
III. Nasogastric Intubation
Common indications for nasogastric intubation include decompression of the GI tract in patients with bowel obstruction and gastric emptying in intubated patients to prevent aspiration. This video demonstrates the insertion of a nasogastric tube.
View the Video and Review the PDF description for the procedure using the Resource links on the Right Sidebar

|
Insertion of Nasogastric Tube |
Competent |
Not Competent |
|
1. Wash hands |
|
|
|
2. Identify patient (name and DOB) and explain procedure to patient
|
|
|
|
3. Gather/check equipment: |
|
|
|
4. Put on protective gloves |
|
|
|
5. Estimate distance of tube insertion (use black lines as |
|
|
|
6. Inspect nose and identify optimal nostril for NG tube insertion |
|
|
|
7. Position patient sitting, with head in "sniffing position". |
|
|
|
8.. Lubricate tip of tube |
|
|
|
9. Insert tube parallel to the floor of the nasal canal |
|
|
|
10. Insert to level of oropharynx (patient may gag at this point) |
|
|
|
11. When gagging ceases (may need to pull tube back slightly), instruct |
|
|
|
12. Insert tube remainder of distance into stomach while patient |
|
|
|
13. Check for designated black mark to determine proper distance of |
|
|
|
14. Check to make sure patient can talk, and not coughing or breathless |
|
|
|
15. Attach piston syringe to end of tube, draw back to aspirate stomach |
|
|
|
16. If no return, insufflate 30 cc of air, while auscultating for "bubble |
|
|
|
17. When properly in place, secure tube with tape to the nasal bridge |
|
|
|
18. Attach the end of the tube to proper suction |
|
|
|
19. Obtain CXR for proper positioning if anything is to be administered |
|
|
|
20. Wash hands before leaving the room |
|
|
|
Pass |
|
Date |
|
Remediation Required |
|
Date |
|
Student Name (please print) __________________________________ |
|
Date |
|
Student Signature__________________________________________________ |
|
Date |
|
Evaluator Signature________________________________________________ |
|
Date |
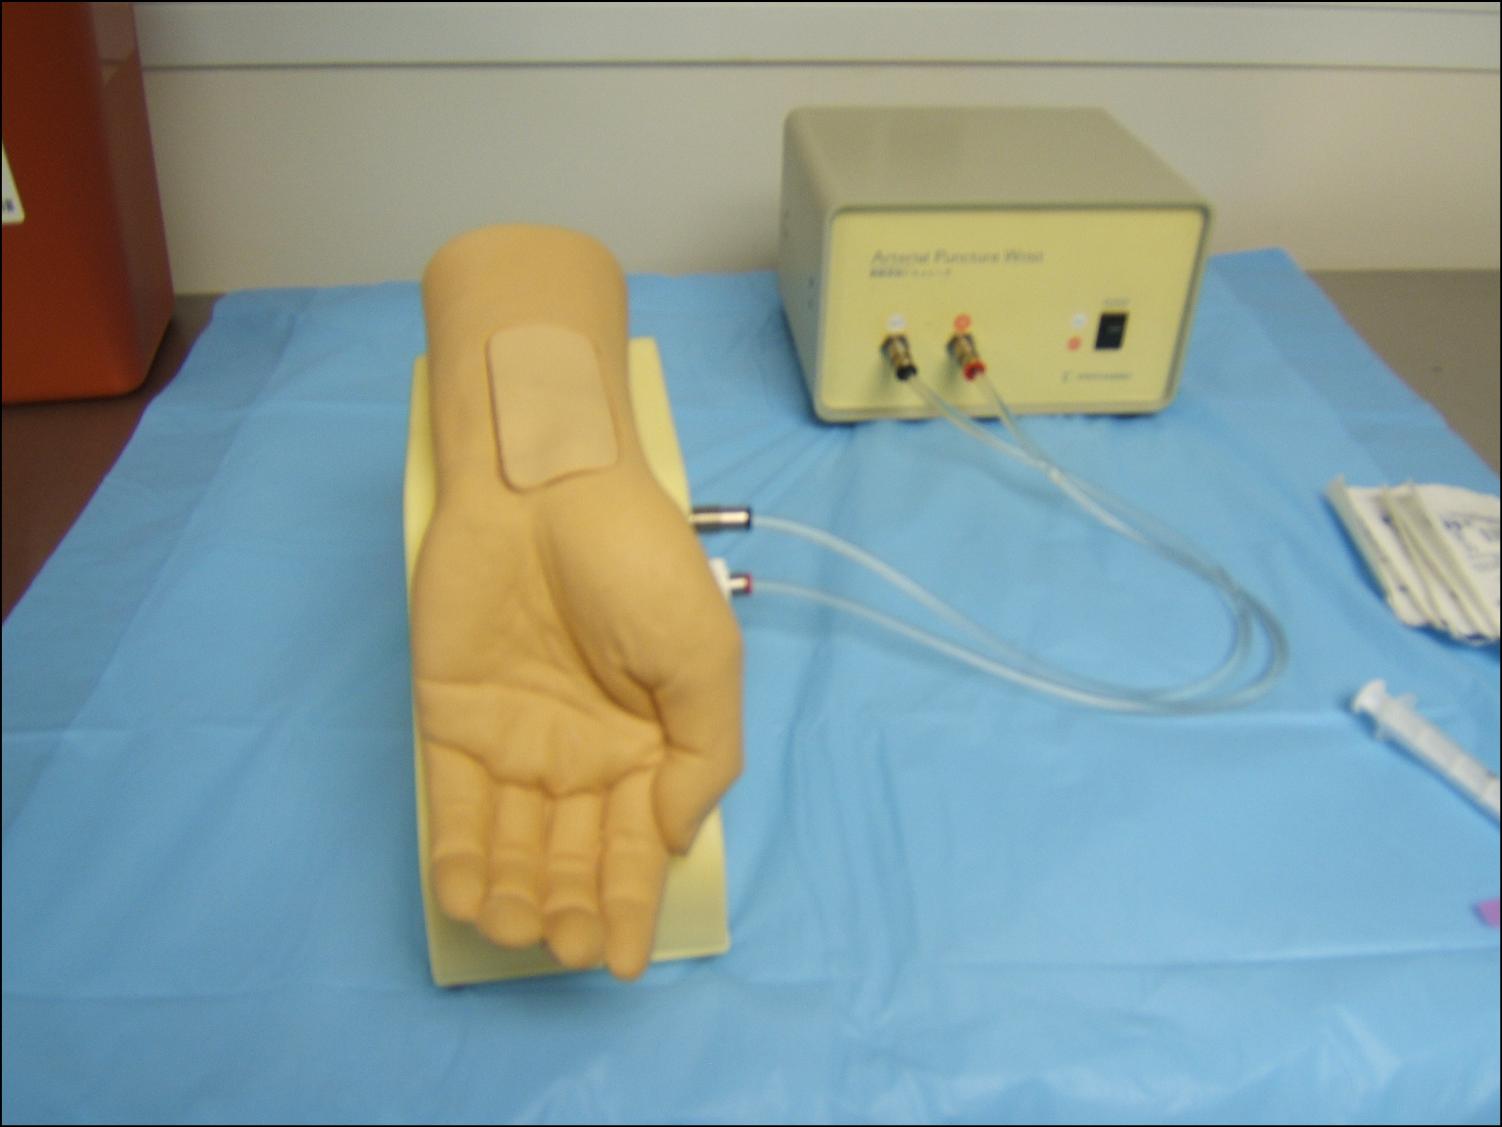
IV. Arterial Blood Gas
Placement of an arterial line is indicated for continuous monitoring of arterial pressure and direct arterial blood sampling.
View the Video and Review the PDF description for the procedure using the Resource links on the Right Sidebar

|
Arterial Puncture |
Competent |
Not Competent |
|
Procedure: |
|
|
|
1. Wash hands or use sanitizing gel |
|
|
|
2. Identify patient (name and d.o.b.) and explain procedure to patient |
|
|
|
3. Perform Allen Test to check vascular integrity of hand |
|
|
|
4. Gather/check equipment: |
|
|
|
5. Put on gloves |
|
|
|
6. Position patient using sandbag or rolled towel to dorsiflex the wrist. |
|
|
|
7. Cleanse overlying skin of distal wrist with alcohol swab |
|
|
|
8. Palpate radial artery with non-dominant hand |
|
|
|
9. (Student should describe but not perform) Anesthetize overlying skin |
|
|
|
10. Insert syringe into radial artery at 30-45 degree angle, bevel side up |
|
|
|
11. Watch for pulsing flash of blood in syringe, reposition needle if needed |
|
|
|
12. Collect sample specimen in syringe, then remove syringe. |
|
|
|
13. Apply direct pressure to puncture site. |
|
|
|
14. Apply band-aid to patient's wrist |
|
|
|
15. Expel air bubble from syringe. |
|
|
|
16. Cap the syringe/needle, using needle-stick safety precautions |
|
|
|
17. Once capped, roll the syringe gently to mix blood with heparin. |
|
|
|
18. Place specimen syringe into delivery container with ice |
|
|
|
19. Arrange for specimen to be delivered to laboratory promptly |
|
|
|
20. Wash hands before leaving the room |
|
|
|
Pass |
|
Date |
|
Remediation Required |
|
Date |
|
Student Name (please print) __________________________________ |
|
Date |
|
Student Signature _________________________________________ |
|
Date |
|
Evaluator Signature_________________________________________ |
|
Date |
|
|
|
|